Work from home

  • Evolution of the ULTIMATE work from home desk

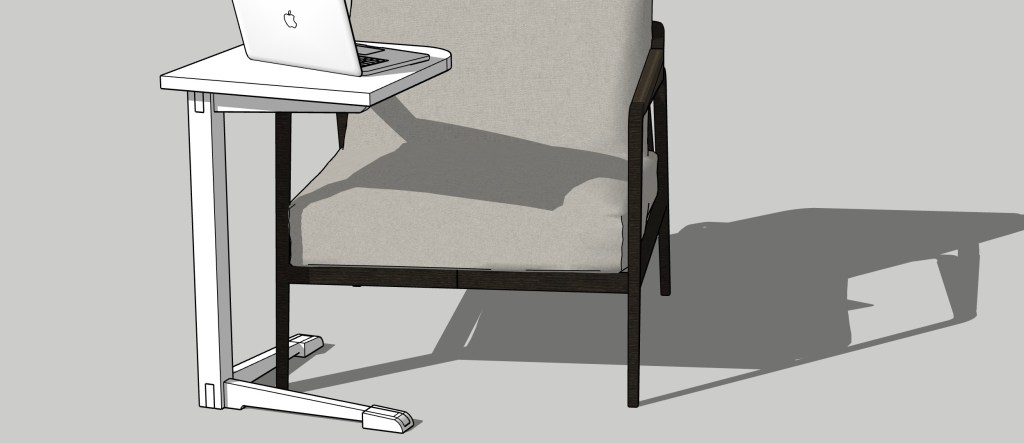
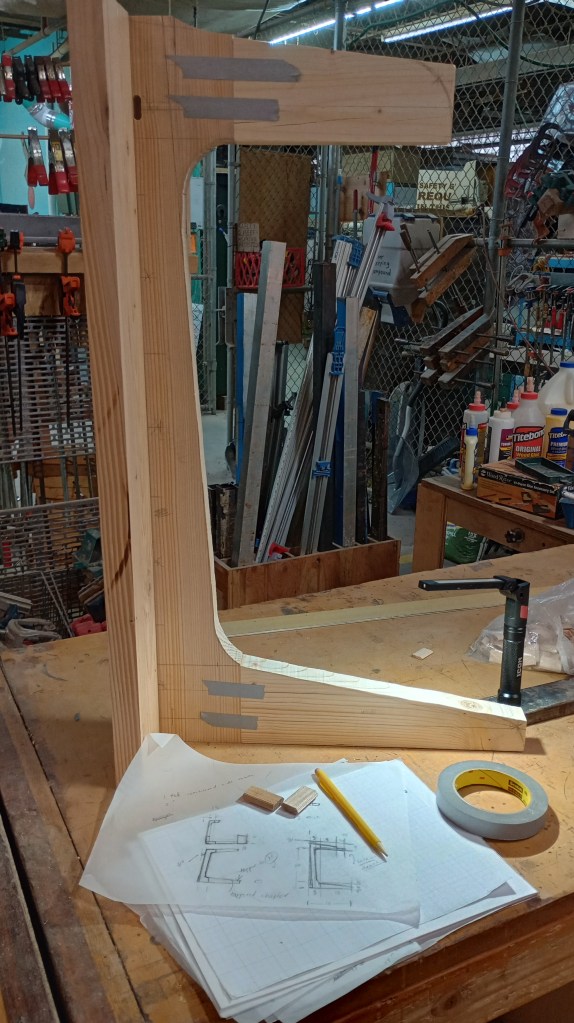
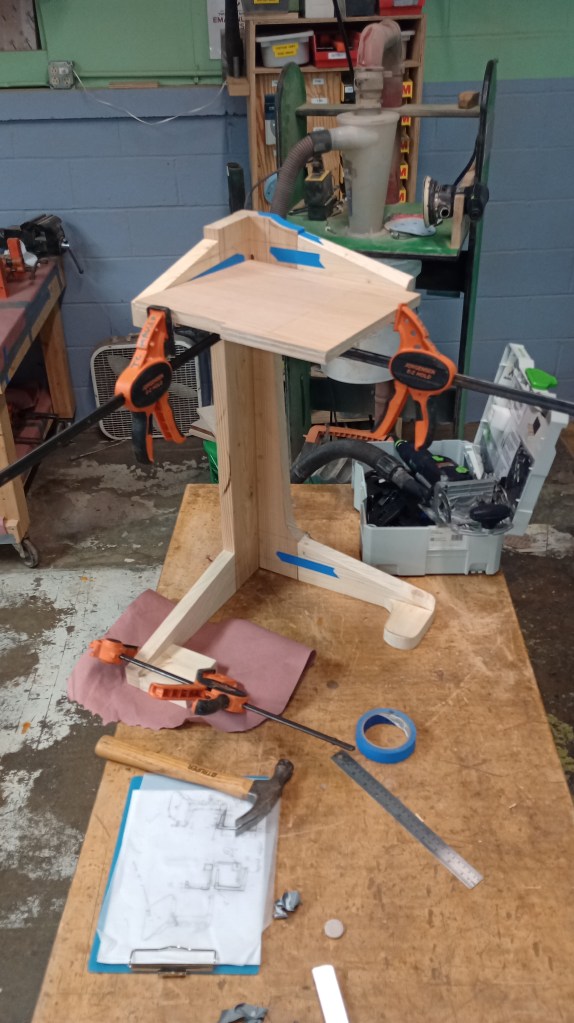
    For the last year and a half, I have been working on a cantilevered working desk that can be used to work comfortably from any chair or sofa. I have built about 8 prototypes which are chronicled here.

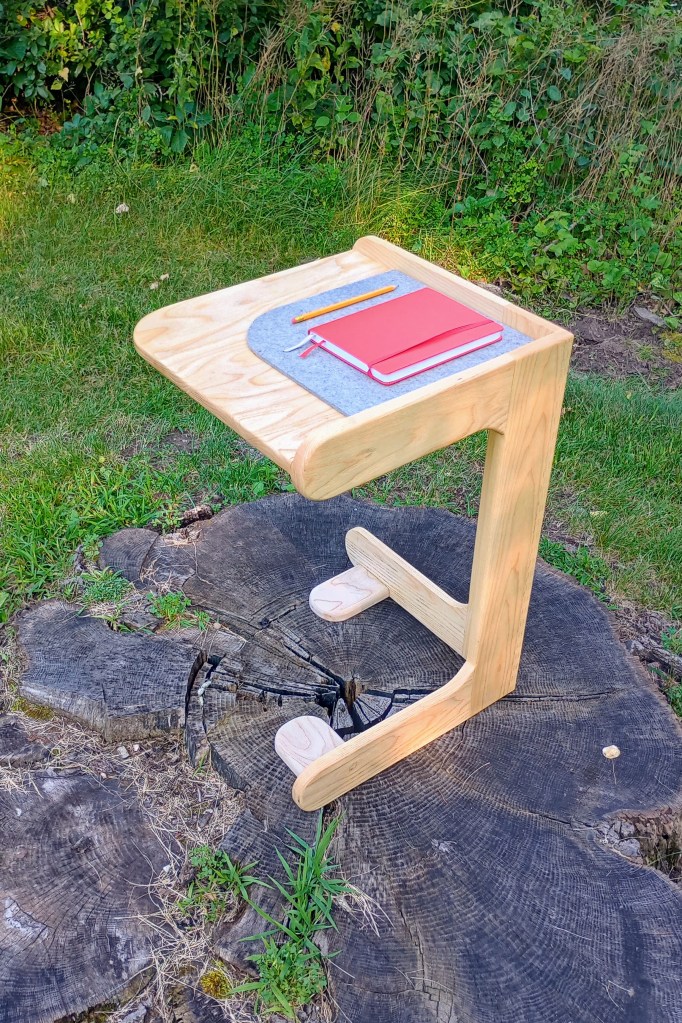
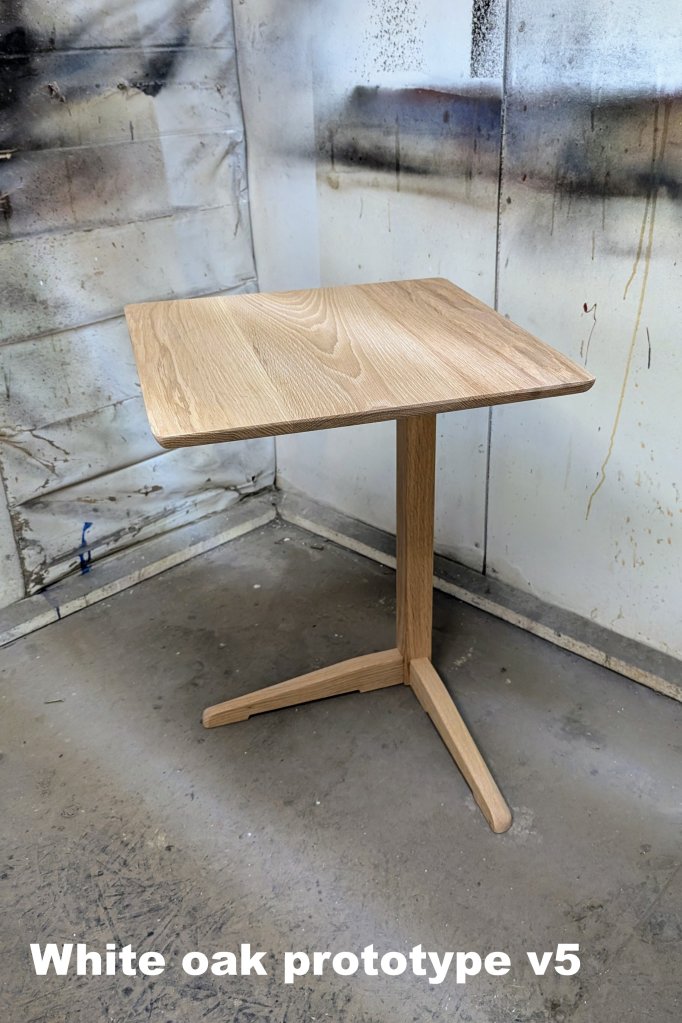
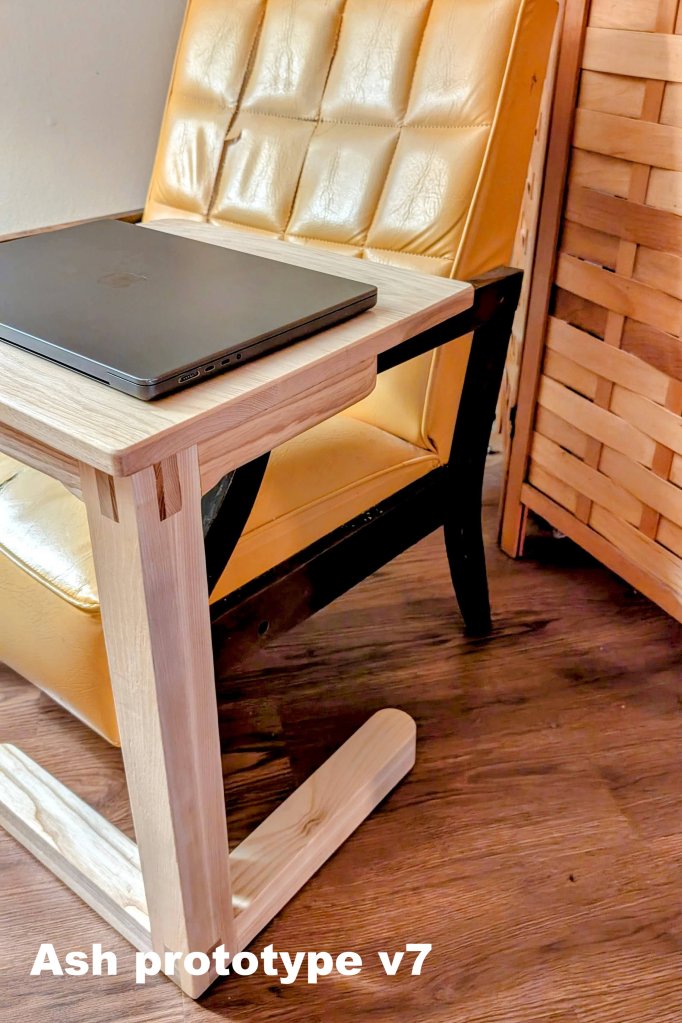
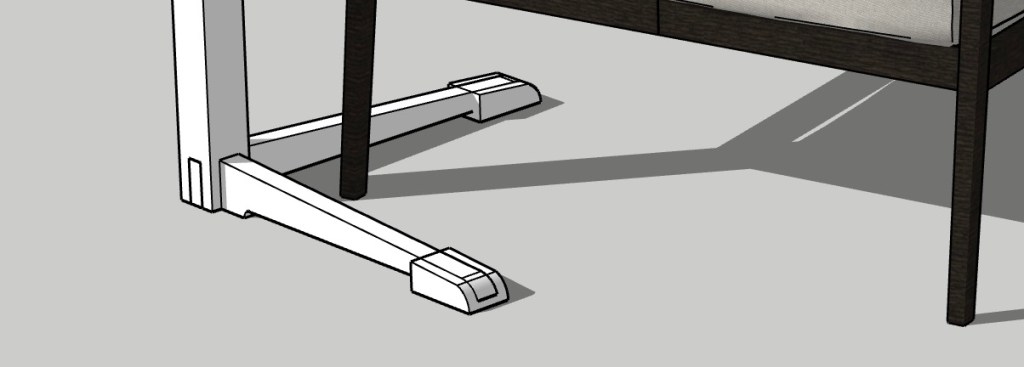
    The form has evolved to meet three simple requirements. It needed to be lightweight, sturdy and portable. I insisted on a cantilevered top to offer a large work space and efficient base that fits under and around chair legs.

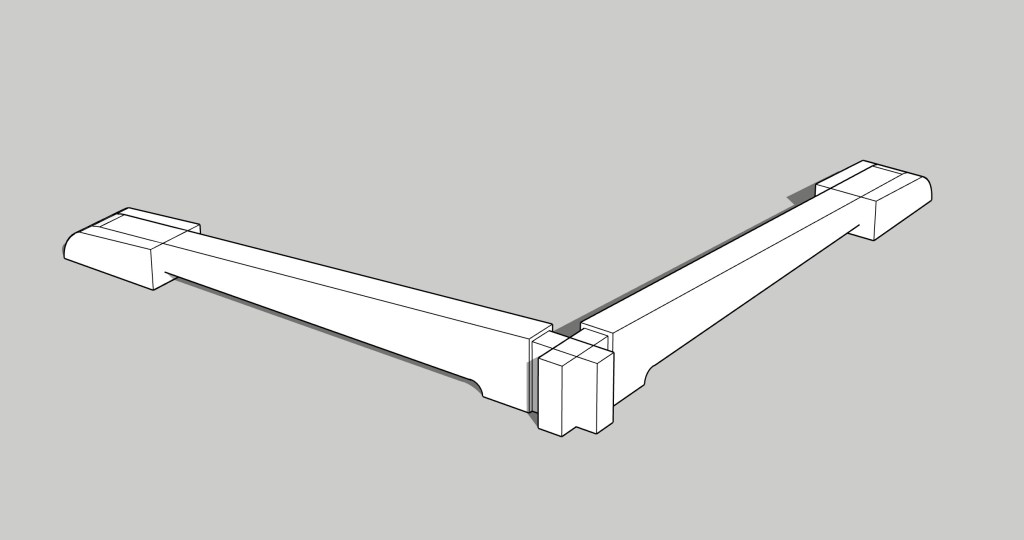
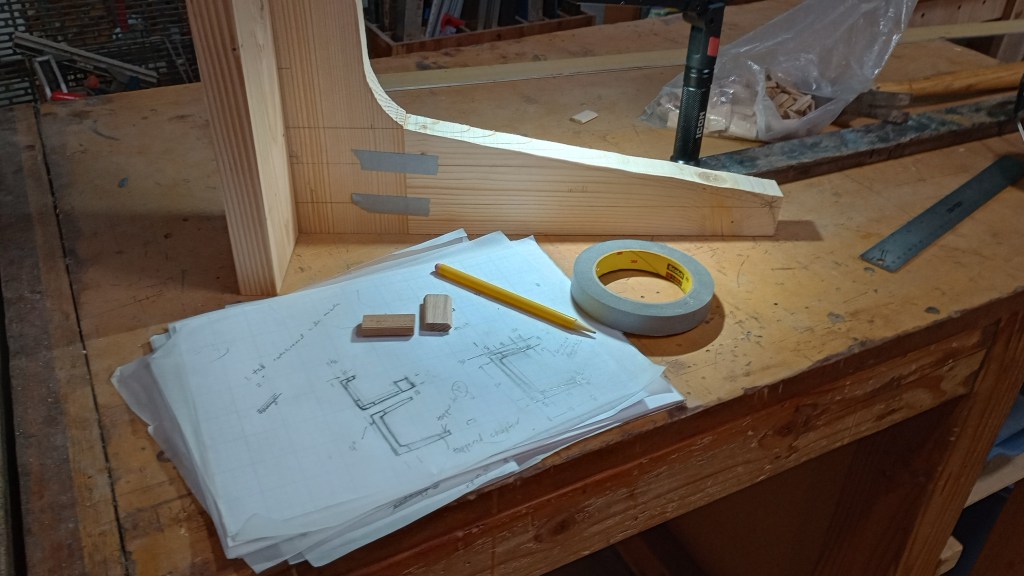
    The first idea involved a large box joint to create a corner and formed the base. This was lightweight but looked flimsy. I then started using a castle joint. It is an ideal solution that does not feel over-engineered.

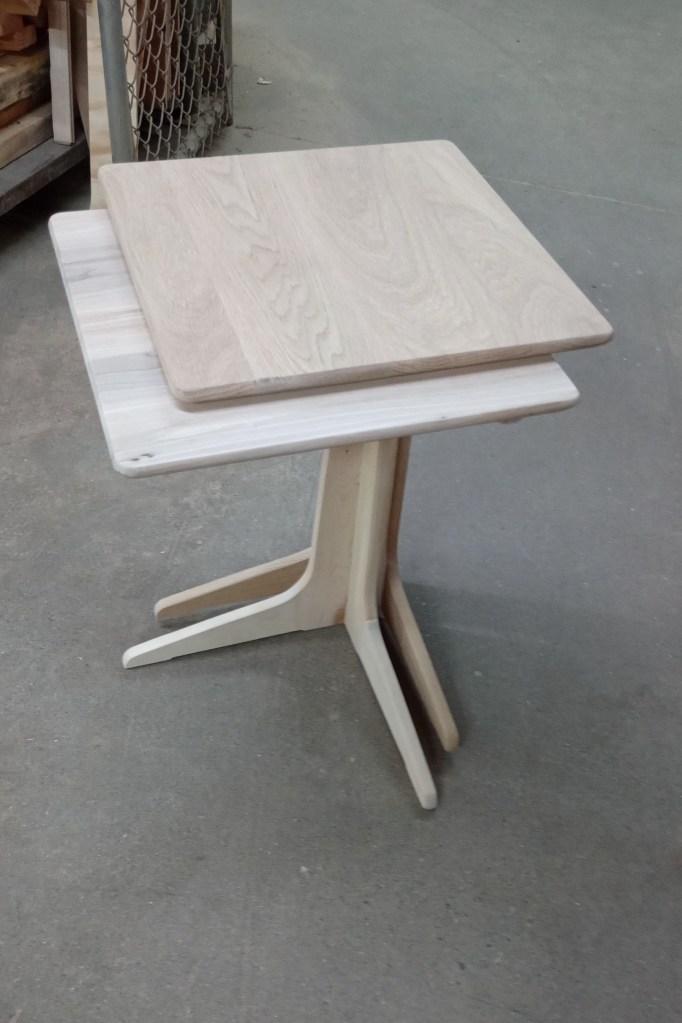
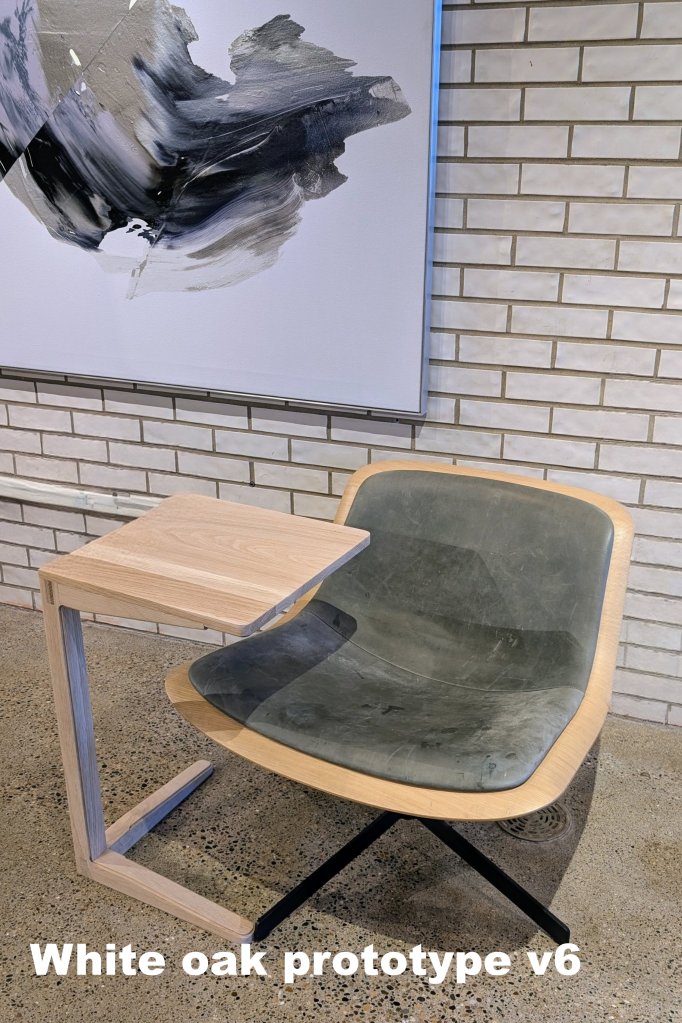
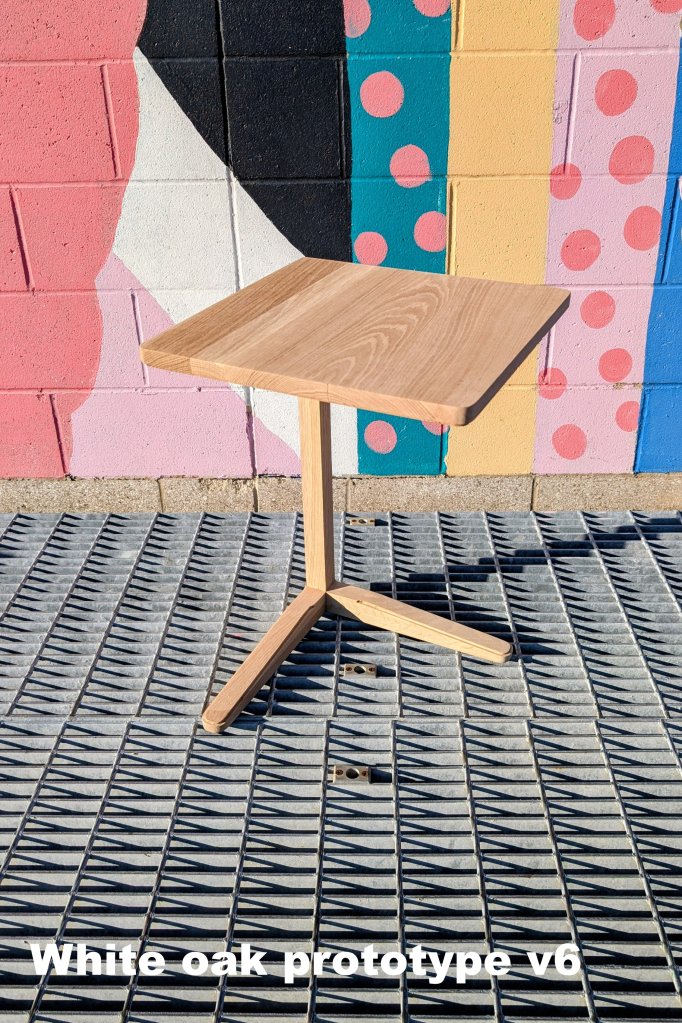
    In the version 6 prototype, I found the right thickness of the legs and feet (42mm), and then also solved how to integrate correct size base with the top. It create a simple profile. This is elegant, minimal but comfortable. I am not a minimalist as I find it uncomfortable, but in this case it is well suited.

    The cantilevered form solves many problems in small spaces as its foot print is less demanding. So I see extending this into an entry console and compact writing desk. I will also explore this form as a drop table.

    With this project, I also see cleaver ways to keep costs down for custom furniture. The materials for this piece can be cut offs with nothing over 24 inches long required. I expect as I perfect the process of cutting castle joints, this piece can be made quickly out of quality hardwood. I want to make accessible custom furniture. Anyone can make a side table for $500.

    * * *

  • Innovative Joint Designs for Stronger Furniture

    I did finish the updated work table and delivered it. Then got an email that one of feet failed.

    When I investigated, the table was used with a fairly heaving rocking lounge chair. When the chair frame tipped forward, it applied a racking force to the foot. Racking force is when a joint is pushed laterally from the side, rather than straight down. The leg failed along the vertical grain just after the mortise. This highlighted a couple design issues:

    • Table was not designed to be used with a rocker, but that is what happened. I design for real use.
    • The height of the foot was enough create a lever that created the racking force.
    • The floating mortise joint did not fail.

    The table was easily repaired but the flaw still remains.

    New Design Needed

    This table needs to be portable and sturdy so it can be pulled in close to chairs and sofas. The issue with the failed design is in the decision to have the leg “flow” into the foot using a curve.

    It does not seem possible to curve the leg into foot and cantilever the top. The curve is not needed to deliver on the design brief.

    I reviewed my sketches and decided on featuring a castle joint. The joint interlocks of all three pieces of wood making up the leg and both feet. The 2 feet are joined with a half-lap joint and this assembly then fits into slots into a thicker leg.

    This design eliminates the non-traditional box joint for the leg and replaces it with more traditional joint.

    The cantilevered top and corner leg frame allow the user to pull the table surface in close. The added “toes” should allow it to slide under furniture with more durability. I hope it will also allow it to be used on thicker carpeting.

    * * *

  • Updating the cantilevered Side Table

    I have used my first work from home side table for almost over year. And wanted document how I created the second version of this useful table. This time I want to make a slightly taller and more stable while refining the cantilevered base.

    My goal is to turn a corner of my living room into a productive workspace. This table embodies the idea of form after purpose. The side table offers a stable surface for your laptop, book, or dinner. You can pull it closer because it is cantilevered. Its base allows it to slide around the legs of a lounge chair.

    Instead of designing my new piece using CAD software, I started with tracing paper and pencil sketches. As the stability of this piece is key, I needed to make a full scale prototype. I can test the large 16 inch square table top against the 18 inch base. I also worked out chamfered tappers to achieve a pleasing line. And finally I can get a sense of how to best assemble it.

    My first sketches and prototypes

    I worked out the construction of a 26 inch tall base verses 23 inches. This is to meet the requirements of the client whose lounge chair has high arm rests.

    This above prototype uses the loose mortise joints. Still, I am considering true mortise and tendon joints. I am also thinking of going again with box joint for the spine. It is super stable on hardwood floors and acceptably “tippy” on thick carpet.

    The top is shaped to be inviting. It can be pulled in close. The height is comfortable for typing or writing.

    * * *